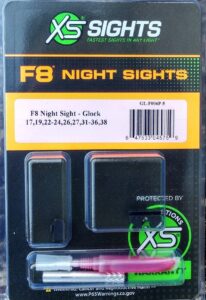
There are many types of sights being made today, but what type of sights work well on a self Defense (SD) handgun? I love my Glock handguns but the one thing I do not like are the plastic sights. So that is one of my first upgrades that I want to change. I really like the XS Sight Company as I feel they have very high quality sights at a somewhat reasonable price. I was looking on Amazon a while back and found a new style of XS Night Sights that I thought might just work for me and besides they were at a very reasonable introductory price. So I thought I would give them a try. I bought three for my Glocks, my Glock 19, 30 and 20. Most of my discussion will be about my Glock 19 (9mm), so let’s talk about it.
How Do We Install These Night Sights?
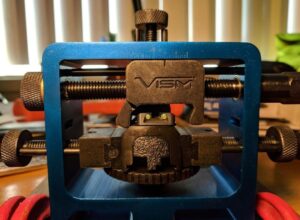
I made a product review on a VISM Sight Pusher back in 3/14/2022. The VISM Universal Pistol Rear Sight Tool is designed for the removal, installation, and adjusting of windage of dovetailed rear sights for most Semi-Auto Pistol slides. The Universal Pistol Rear Sight Tool 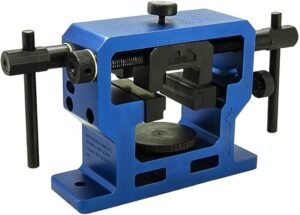 works with many types of semi-auto slides: full, compact, subcompact, and pocket-sized semi-auto pistols. The base platform is adjustable for height, to get your slide and rear sights at the proper height for the rear sight pusher. Includes one bottom spacer for some pocket pistol slides for proper height alignment. The multiple vertical and horizontal clamps secure various sizes and types of semi-auto slides in the tool. The adjustable top brace with a plastic insert to secure the slide’s vertical placement on the base platform. The adjustable side braces with plastic inserts secure the slide’s horizontal placement on the base platform. Includes two sets of side plastic inserts: a pair of flat inserts and a pair of stepped inserts to fit a wide variety of slide profiles.
Old Rear Sight Removal –
- Field-strip your handgun
 so that you only have your slide (barrel and spring removed).
 - Place your slide in the VISM Sight Pusher so that you are pushing your old sight from left to right.
- Begin to screw the sight pusher a little at a time until your old sight comes out.
- Clean out the sight dovetail to remove any excess grease, etc.
- Field-strip your handgun
Old Front sight Removal –
- While the Glock is field-stripped you can also remove the front sight, it is a screw-on using a 3/16″ nut,
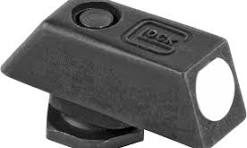 the screw is on the inside of the slide.
 - Get a 3/16″ nut driver and remove that flat screw on the inside of the slide and the front sight should come off.
- Get a cloth and wipe the slide hole , inside and out.
- While the Glock is field-stripped you can also remove the front sight, it is a screw-on using a 3/16″ nut,
New Sight Installation –
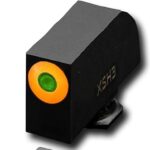
- Remove the new sights
 from the packaging and see what you have to work with.
 - You should have a front and rear sight, an Allen wrench for rear sight windage adjustment, a nut driver for front sight installation, and some Loctite (Blue so it can be removed if necessary).
- I always use my own Loctite (Blue 242) so I know exactly what I am putting on.
- Remove the new sights
New Front Sight Installation-
- The front sight should have the same flat screw that the old sight had.
- Unscrew the screw in the new sight
 and put a small amount of Loctite on the screw.
 - Place the front sight over the hole and put the screw through the hole and into the front sight. (Make certain that the front sight is on the correct direction).
- Using a 3/16″ nut driver, tighten the screw snugly, but not over-tight. Also make certain that the sight is straight and not slanted.
New Rear Sight Installation-
- Reposition the slide in the sight pusher so that the sight pusher is pushing the new sights from the right to the left.
- Set the new Night Sight in the dovetail
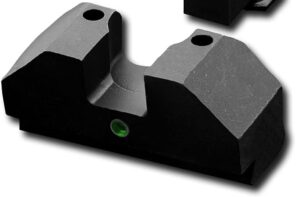 and slide it to the right into the dovetail. It should slide into the dovetail 1/4 to 1/3 of the way into the dovetail, or further fitting will be required.
 - Further fitting means to remove some of the bottom of the sight using either a sharpening stone or a good file. This needs to be done very slowly, removing some of the metal a little at a time. Then try it again until you can slide the sight into the dovetail far enough.
- Begin to screw the sight pusher a little at a time until your new sight is even on both side of your slide.
- Once adjusted where you want it, get your enclosed Allen wrench and tighten both screws until it is snug (BUT NOT OVER TIGHT).
- If your new sight does not move into the dovetail very easily you may need to add some oil to the dovetail, this might help it move into the dovetail.
- Now that your new sights are in place, put your handgun back together and add some oil to the lubrication points as your manual states and get ready to test fire your handgun.
Time For A Test Fire, let’s figure out the correct procedure
Installing new sights is a good thing but you need to get them to where they are hitting what you aim at. So you need to get to a place where you can test fire your gun and see where it is hitting. I like to use a large target with white paper behind it that covers all your previous bullet holes. Because you may not even hit the target with your first shots and this helps you know where the bullets are hitting..
I like to begin at 15 yards with a rifle or handgun, using a table to shoot from, with a stand or rest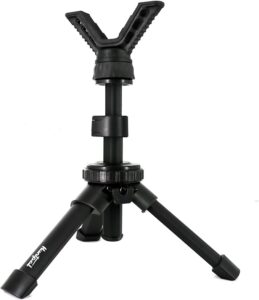 for support (see photo below), a rest like this works for handguns or rifles and helps to remove most of the other movements so you can see exactly where your handgun is shooting.
Using good shooting technique, you shoot a 3-rounds group and then go see where you shot. If you are hitting on paper or on the target then you keep going. You make an adjustment (see the next section).

 do the job. So then why not buy one? I guess you could say I am kind of a tight-wad and a bit of an engineer-type and if I can make one just as good (or better) then why not do it. Besides I don’t know about you but I get a lot of personal satisfaction from doing things myself, rather than just buying one.


 simplicity of operation, and the ability to fire more powerful cartridges than many semi-automatic pistols. A revolver’s straightforward design makes it a dependable choice for self-defense, particularly for new gun owners. Plus they just look very cool!
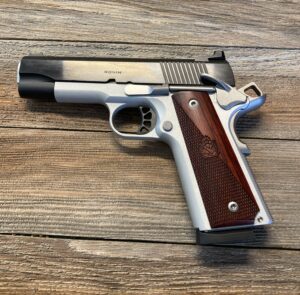 than revolvers. You’ll see some exceptions, but the basic concept that semi-auto’s use – storing ammunition in the magazine – provides more space for cartridges than the cylinder of a revolver.
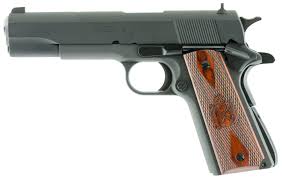 two of my handguns: a Springfield Armory 1911, .45ACP (top picture) and a Browning Hi Power Mark 3 9mm (bottom picture). I regreted that sale for many years! The 1911 and Hi-Power was both modified at Novak’s Sights with special sights and reliability work that made them shoot great and they were completely reliable. I really hated to sell those two handguns, they were sweet! That taught me that it is not a good idea to sell your firearms because you never get a price that they are really worth to you.
 I was able to replace my Springfield Armory 1911 that I sold with a new Springfield Armory Ronin 1911 which made me very happy. They were both .45 ACP, which is a caliber that I really like. It had a little shorter barrel so it will work better as a concealed carry handgun. It had a lot of the same upgrades from the factory that I had done at Novak’s, so it was a good deal for me.
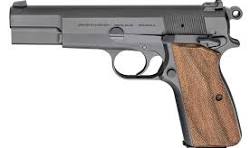 is a modern, American-made 9mm handgun that is a modernized take on the classic John Moses Browning P-35 (Browning Hi-Power) pistol design.
 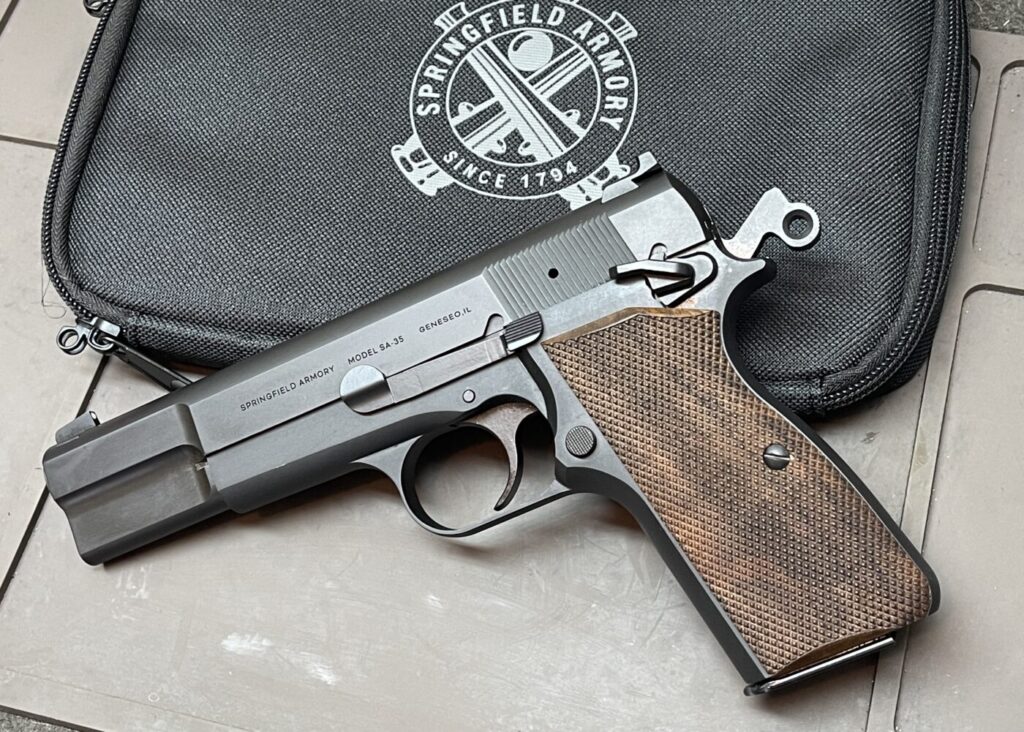 they are a good shooting handgun. I love the fact that these handguns are made in the USA and that this company took the time to make such a close copy and then make the improvements to this gun that the original Browning Hi-Power was lacking. All in all it is a great 9mm handgun, it feels really good in my hand and shoots very good also. The one thing I did not mention was that this handgun is an all steel handgun and therefore will be a fair bit heavier then many of the polymer handguns on the market today. So that means it will be heavier to carry but the extra weight will help to make it more accurate because you will not feel the recoil as much so it will help to stay on target on follow-up shots. This is a great handgun and I am glad to have it back in my gun safe.