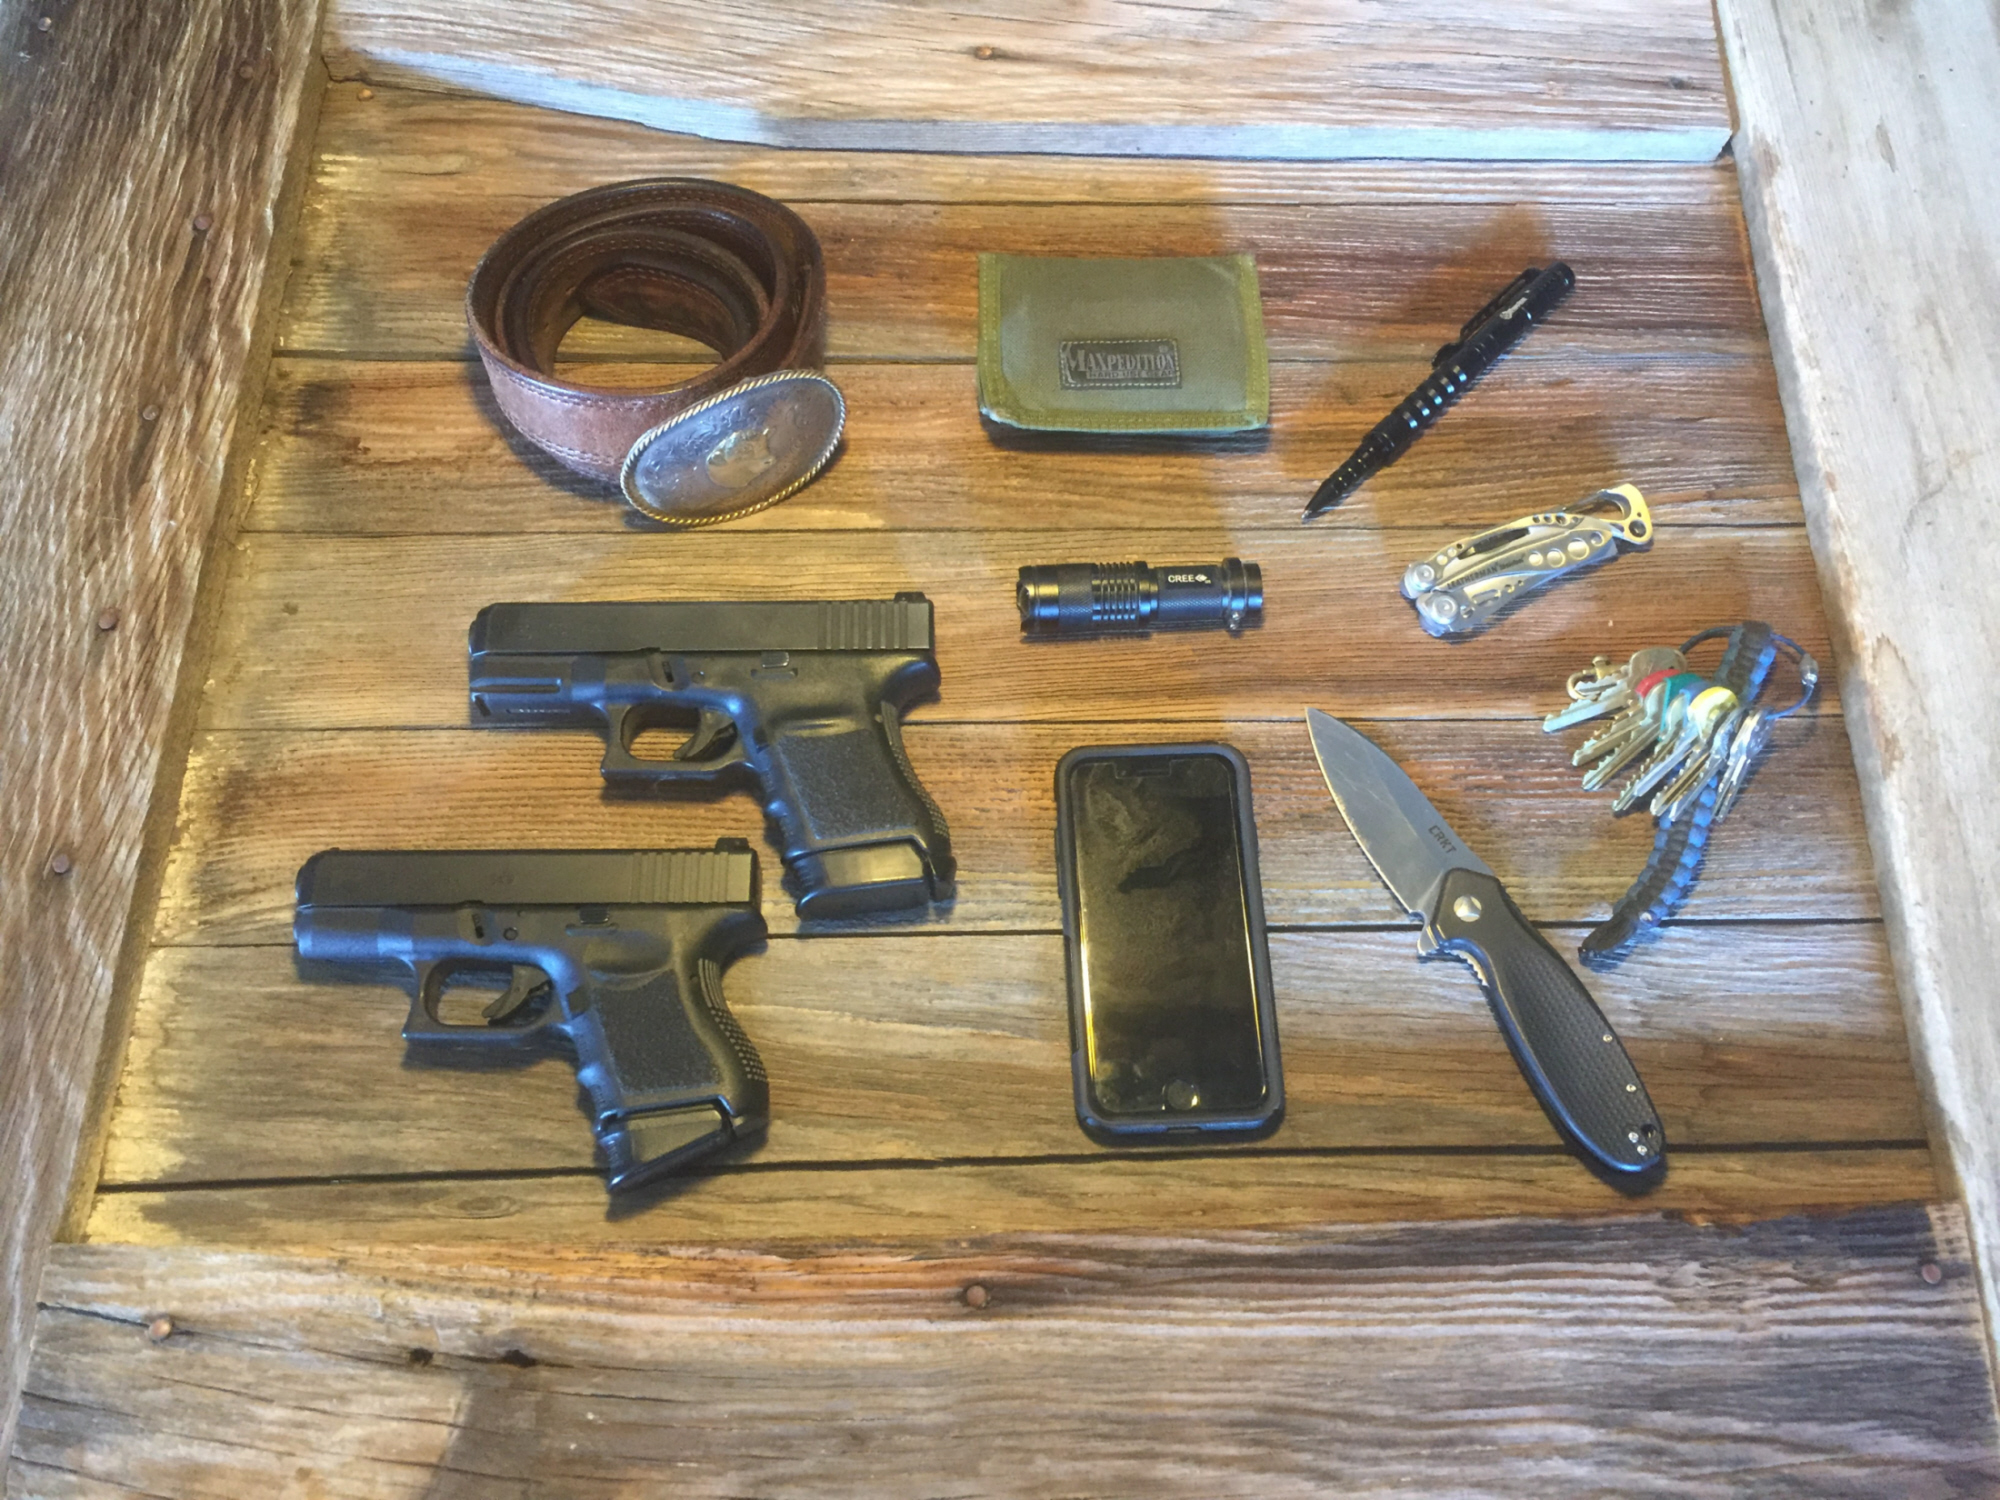
Rod Cleaning Systems?
Many people swear that the only 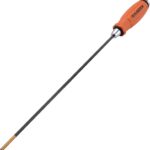 way to clean a gun is by using a cleaning rod. When I was young that was the only way to clean your gun so we did not question these rods. Cleaning rods do work great and now they are usually in the form of a one-piece coated rod or rods that screw together in sections to form a long cleaning rod.
 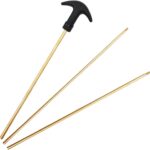 Whether they are one-piece or in sections they do a similar job in the end. A one piece rod is usually Teflon coated so it does not scratch the crown or the barrel. The cleaning rods that are in sections are usually made out of brass or aluminum and will not usually scratch your barrel. But it is a good idea to use a
  bore guide (protector) to protect your barrel crown when using these metal cleaning rods. You place them in the end of your barrel and then slip the cleaning rod inside the bore guide and into the barrel, this keeps the rod centered in the barrel and not scraping the barrel or crown of your gun. Cleaning rods can do a fine job as long as you are careful when using them.
Cable Cleaning Systems?
Some years ago gun cleaning cables were developed, this was something new that many people have not seen before. There are a few companies that produce these gun cleaning systems but my favorite is from 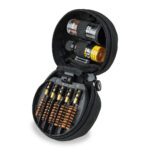 OTIS Technology. They make high quality gun cleaning kits with excellent customer service to back it up. They produce every kind of gun cleaning kits that you might want, my favorite is the OTIS Tactical Gun Cleaning kit for rifles, shotguns and handguns. It has everything
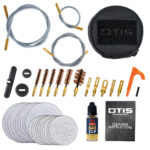 you would want to clean your guns and do a very thorough job I might add. An advantage to the cable system is that you do not have to teardown your gun so that you can clean from breech to muzzle. Because the cable is flexible you can just open up the action and put your cable end into the breech and slide it down the barrel to the muzzle. A pretty cool way to clean your gun.
The Cleaning Process
The rod gun cleaning system is the most common gun cleaning system on the market today. And it is something that has been passed down from generation to generation. This process takes a cleaning rod, copper jags, copper cleaning brush, cleaning patches, cleaning solvent, CLP oil and a wipe down cloth for final cleaning. 1) The first thing to do is unload the rifle and make sure that it is clear before starting to clean your firearm. You must remove your magazine (if equipped) and any ammunition that may be loaded within the firearm including in internal magazines. Make sure you do a thorough visual check, and feel with your finger that there are no bullets in the chamber before you go to the next step. 2). Using a cleaning utility brush or cleaning swabs, remove any excess dirt, etc. from your firearm. Place a copper slotted jag on your cleaning rod and a cleaning patch in the slot. Apply some bore cleaning solvent to the cleaning patch, and run the patch through your barrel and let set for a couple of minutes. Next use a copper brush and run it completely through the barrel to loosen up the fouling in the barrel.. Follow up this with several dry patches to make sure your barrel is clean and dry. Use some swabs to clean hard-to-reach areas and ensure you get your barrel/chamber as clean as possible. 3). Once you’ve completely cleaned your action, bolt, receiver, and barrel, you’ll want to properly oil & lubricate the moving parts of your firearm. Look for worn metal areas on bearing surfaces such as your action, and bolt lugs. On a well-used firearm you’ll see bare metal through the finish in some places. 4). After you’ve cleaned and lubricated your firearm, wipe it down with a clean, dry cloth. This removes residue and oils/moisture from fingerprints that you may have missed in steps two and three. A quick wipe and polish of any wooden furniture on your rifle is also a recommendation. 5). Once everything is cleaned, and wiped down, it’s time to start reassembling your rifle. It is a good idea to carefully inspect each piece as you put it together and make sur there are no problems with the pieces.
The cable gun cleaning system is an easy three-step cleaning process, it is basically similar but takes some different tools. Before you began cleaning there are a few things that you need to do. First make sure your firearm is unloaded, remove the magazine or bullets and inspect that there are no bullets in the gun. Then inspect the firearm and look for any excess dirt or debris on the outside, if you see any, use a utility brush to clean it off. Next remove the bolt or just open the action on the firearm. 1) Place their slotted end on one end of the cable. put on one of their special round patches in the way as directed , add some bore cleaning solvent or CLP to the patch. place the opposite end of the cable into the barrel on the breech end push it through the barrel until the patch is at the end of the barrel. then draw it through the barrel, from breech to muzzle. 2) Remove slotted-end and put copper brush on the cable and draw through barrel from breech to barrel-end. Wait for a few minutes to let the chemicals work. 3) Then put the slotted tip back on along with a clean dry patch, as directed and draw the cable through the barrel from breech to muzzle and repeat this step until the patch comes out clean. End result is a clean gun.