Installing The Extended Slide Lock In A Glock 19, Gen 5.

Back on 02/21/2022 I posted an article called Upgrades To My Glock Handguns, where I talked about a few upgrades that I did to my three Glock handguns; Models 20, 26, and 30.  Out of all those upgrades, one of them stands out the most to me and that was the Extended Slide Stop.  So when I purchased another Glock, that upgrade was first on my list to get completed. I love my Glocks, I really like the feel of them in my hand and the way they work and the fact that they shoot everytime that you pull the trigger.  But I do get a little frustrated when I need to field-strip these handguns, so let’s discuss this installation.

Why Do You Need To Upgrade To This Part?

As I mentioned, Glocks are great handguns – some people like them and others do not.  And that’s OK!  Some people think they are ugly! Some people think they feel like a 2 x 4 in your hand! And some people really like them! I am in the last group.

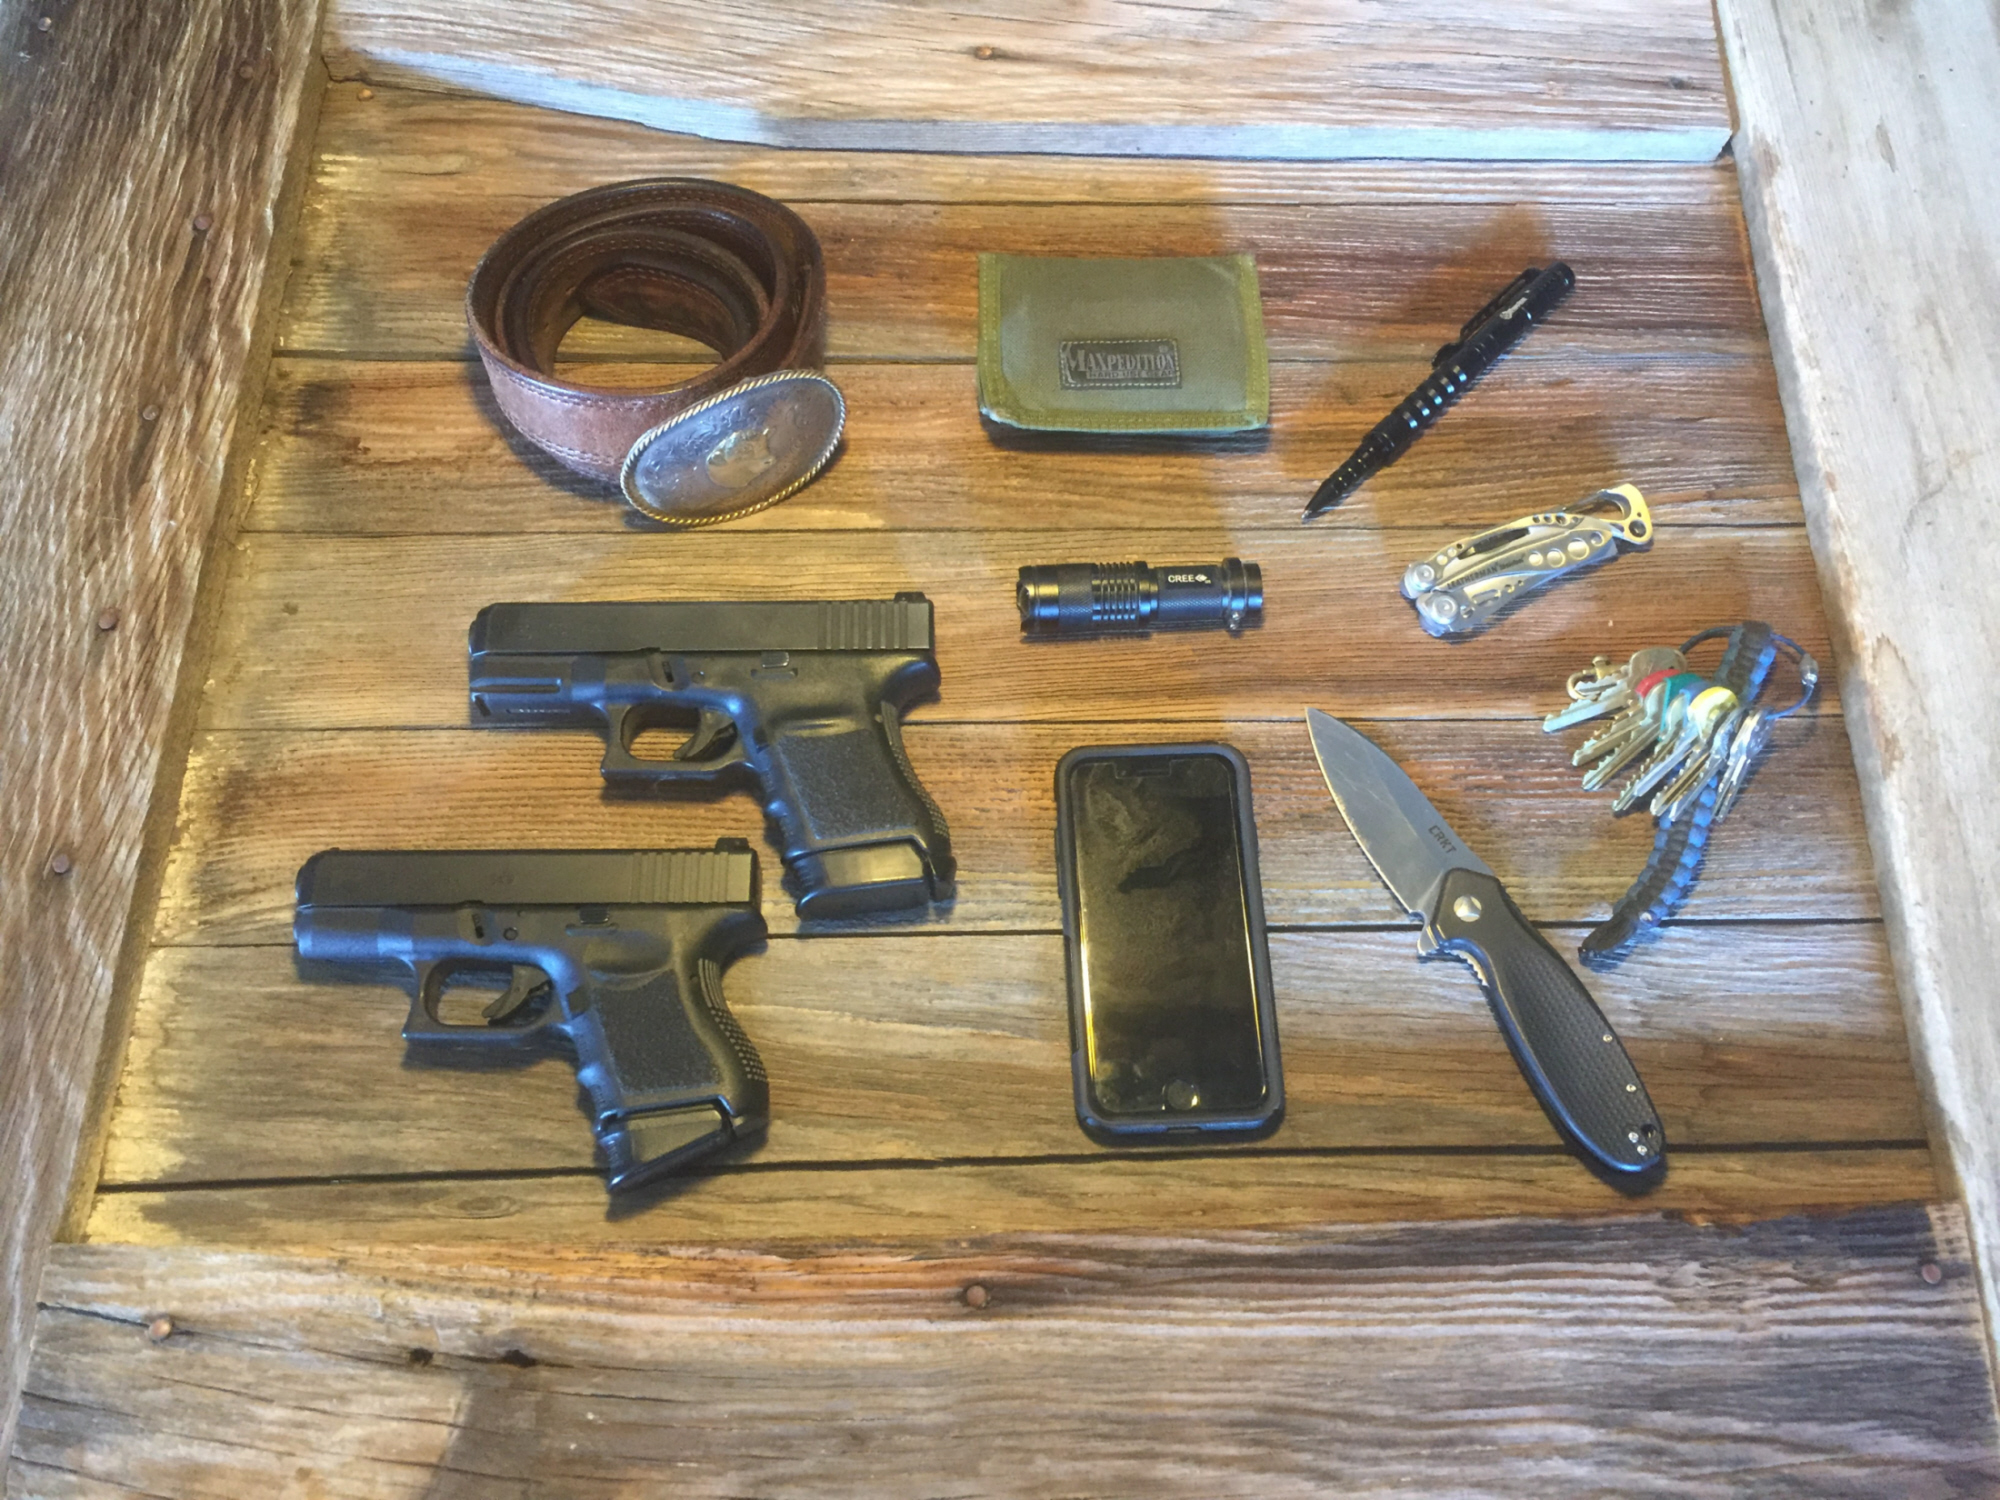
OK so you know that I like Glocks and I have four of them. Even though they are my favorite handguns, there is one thing that is always a pain about a Glock and that is removing the slide from the frame on the pistol, the takedown lever (right top picture – white and red arrow) was really hard to keep ahold of, while you hold the slide back to a certain place. So you would usually try a couple of times before you could do it.  Then came the extended slide stop and that made all the difference in field stripping your Glock.  It only stuck out a tiny bit more than the original and the edges were serrated a bit more and that made holding that lever down so much easier. 

What Parts Will You Need To Purchase?

When I need parts for my Glocks I go to the Glock Store (https://www.glockstore.com) in California, they have about everything you could think of for your Glocks in the way of parts and accessories.  Plus their service is excellent. I ordered this part and about a week later it came in the mail to my residence. This is the part as I got it from the Glock Store, so lets move on with the procedure.

What Tools Do You Need?

This is a very easy installation as compared to other parts on a Glock, there for very few tools are needed.

Required tools:

  • Bench Block or tape roll
  • Punch
  • 3/32 Punch
  • Some Patients

What Is The Procedure To Install This Part?

This is a very easy installation as compared to other parts on the Glock.  Here is a video that the owner of the Glock Store has put together that also might be helpful.  His method is a little more involved then mine but it does get the part installed.

Summary of Installation Procedures:

    1. Remove the magazine from the handgun, make certain the magazine is unloaded and place it in a safe place. Remove the barrel from the frame and place it in a safe place.
    2. Removing the slide lock-
    3. Place the frame of the gun over the bench block, right side down on the block.
    4. Wiggle the slide stop as you push the punch on the trigger pin to push the  pin out.
    5. Take the 3/32 punch and push the trigger housing pin out to remove the pin.
    6. Take a punch and remove the locking block by pulling it up and out of the frame.
    7. Then remove the slide stop by lifting it out.
    8. Then remove the trigger mechanism from the frame by pulling it out.
    9. With a punch, push down on the small spring under the slide lock, keeping you finger over the spring and pull the slide lock out, making sure not to loose the spring.
    10. Installing the extended slide lock
    11. Make sure that the small spring is in the recessed hole
    12. Slide the Extended Slide Lock in the slot with the smooth side facing forward.
    13. Push the spring down with the punch so that you can get the tip of the bar over the top, keep your finger over the top of the spring so that it does not fly off.
    14. Keep tension on the spring and slide the extended slide lock into place.
    15. Drop the trigger mechanism into place, put the front piece in place first and then the rear piece and push down on the rear piece and make sure the holes line up.
    16. Drop the slide stop in place and push down, make sure holes line up.
    17. Drop the locking block over the top and press down, making sure the holes line up.
    18. While holding everything together, push the trigger housing pin (from right to left) and use a nylon hammer to push it in all the way.
    19. Get a punch and push it in the trigger pin hole to make sure it all lines up. Then push the trigger pin in the hole and use a nylon hammer to push the pin in most of the way.
    20. With a punch, push it in the rest of the way until you hear a “click” sound.
    21. Check to see if you have some spring pressure on the slide stop and also on the slide lock.
    22. Then put the barrel back on the frame and make sure everything operates correctly.

Final Remarks

This was a fairly easy install, one that you can do yourself without a gunsmith. I would not recommend installing aftermarket parts unless it was a procedure that was easy to do.  There is nothing worse than getting halfway through an installation and then realizing that this procedure was above your pay grade and you need help to complete it.  But what a difference it makes adding the Extended Slide Lock when you take down your Glock.  I did it on my Glock 20, 26 and 30 and it really worked easy.  Those three handguns are all generation 3 and the procedure is different then on a generation 5, like my Glock 19.  So that is why I did a separate article for this one. The outcome is the same but the procedures are a bit different.  As I mentioned, I am not one of those guys that looks for all the new gadgets to add to my handguns, but this one is a definite “must” in my book. I hope this helped you and if you have more questions just leave me a comment and I will send you an answer.

If you have any questions about this post or anything related to Everyday Carry (EDC), feel free to leave a comment below and I will be happy to get back to you.

All the best,

Larry

Founder of EDC Essentials

    LEAVE A REPLY

    Your email address will not be published
    Required fields are indicated